Multi-Factor Authentication (MFA) Guide
Set up MFA on an existing account, a new account, or manually with Google Authenticator App.
- Adding Google Authenticator to Existing Accounts
- Setting up New Accounts with Google Authenticator app
- Manual Set up Steps
Adding Google Authenticator to Existing Accounts
|
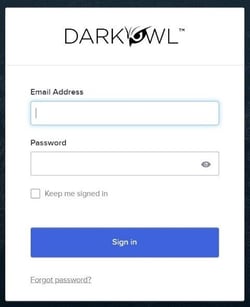
1. Log in to vision.darkowl.com with your existing credentials. |
 |
|
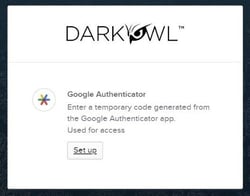
2. You will be prompted to set up Google Authenticator. Click the “Set up” button. |
|
|
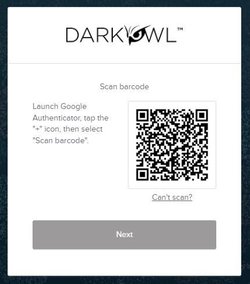
3. This will open the Scan Barcode screen. |
|
|
4. Open the Google Authenticator app on your mobile device.
|
|
5. Go back to the Scan Barcode screen and scan the QR code with the app.
|
|
| 6. Click “Next” on the Scan Barcode screen to continue set up. | |
| 7. Click “Next” on the Scan Barcode screen to continue set up. | |
| 8. That’s it! You should be at the DarkOwl Vision start screen. | |
Setting up New Accounts with Google Authenticator app
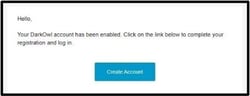
1. Click on the “Create Account” button (or click on the direct link) from the “Create Your DarkOwl Account” email.
|
 |
| 2. We will set up authentication first. Click the “Set up” button below the Google Authenticator selection. | 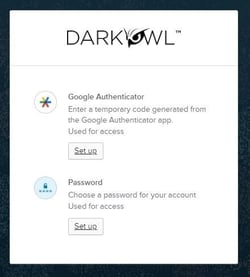 |
| 3. This will open the Scan Barcode screen. | 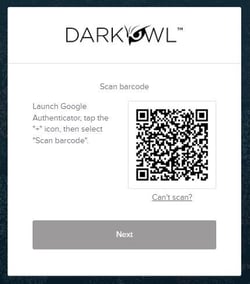 |
4. Open the Google Authenticator app on your mobile device. Then:
|
|
5. Using your mobile device, go back to the Scan Barcode screen and scan the QR code:
|
 |
| 6. Click “Next” on the Scan Barcode screen to continue set up. | |
|
7. On the following screen, enter the MFA code displayed in your authenticator app, and click “Verify.” |
|
| 8. This will return you to the Set up screen, which will allow you to create a Password for your account. Click “Set up” below the Password option: | 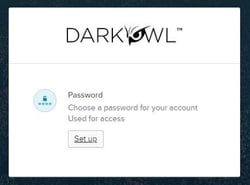 |
|
9. Fill out the password field prompts to enter and re-enter the password. Then click Next.
|
|
| 10. Finally, submit the Complete Registration modal to finalize your account set up, and start using DarkOwl Vision UI! | |
Manual Set up Steps
| 4. Click the “Can’t scan?” link below the QR code. | 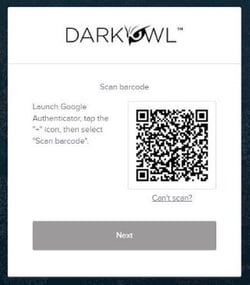 |
5. On the next modal, you will see instruction text along with a unique secret key:
|
 |
6. Open the Google Authenticator app on your mobile device.
|
|
| 7. Go back to the browser and click the Next button: | 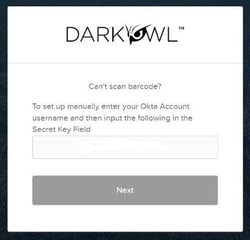 |
8. On the following screen, enter the MFA code displayed in your authenticator app, and click “Verify.”
|
|